

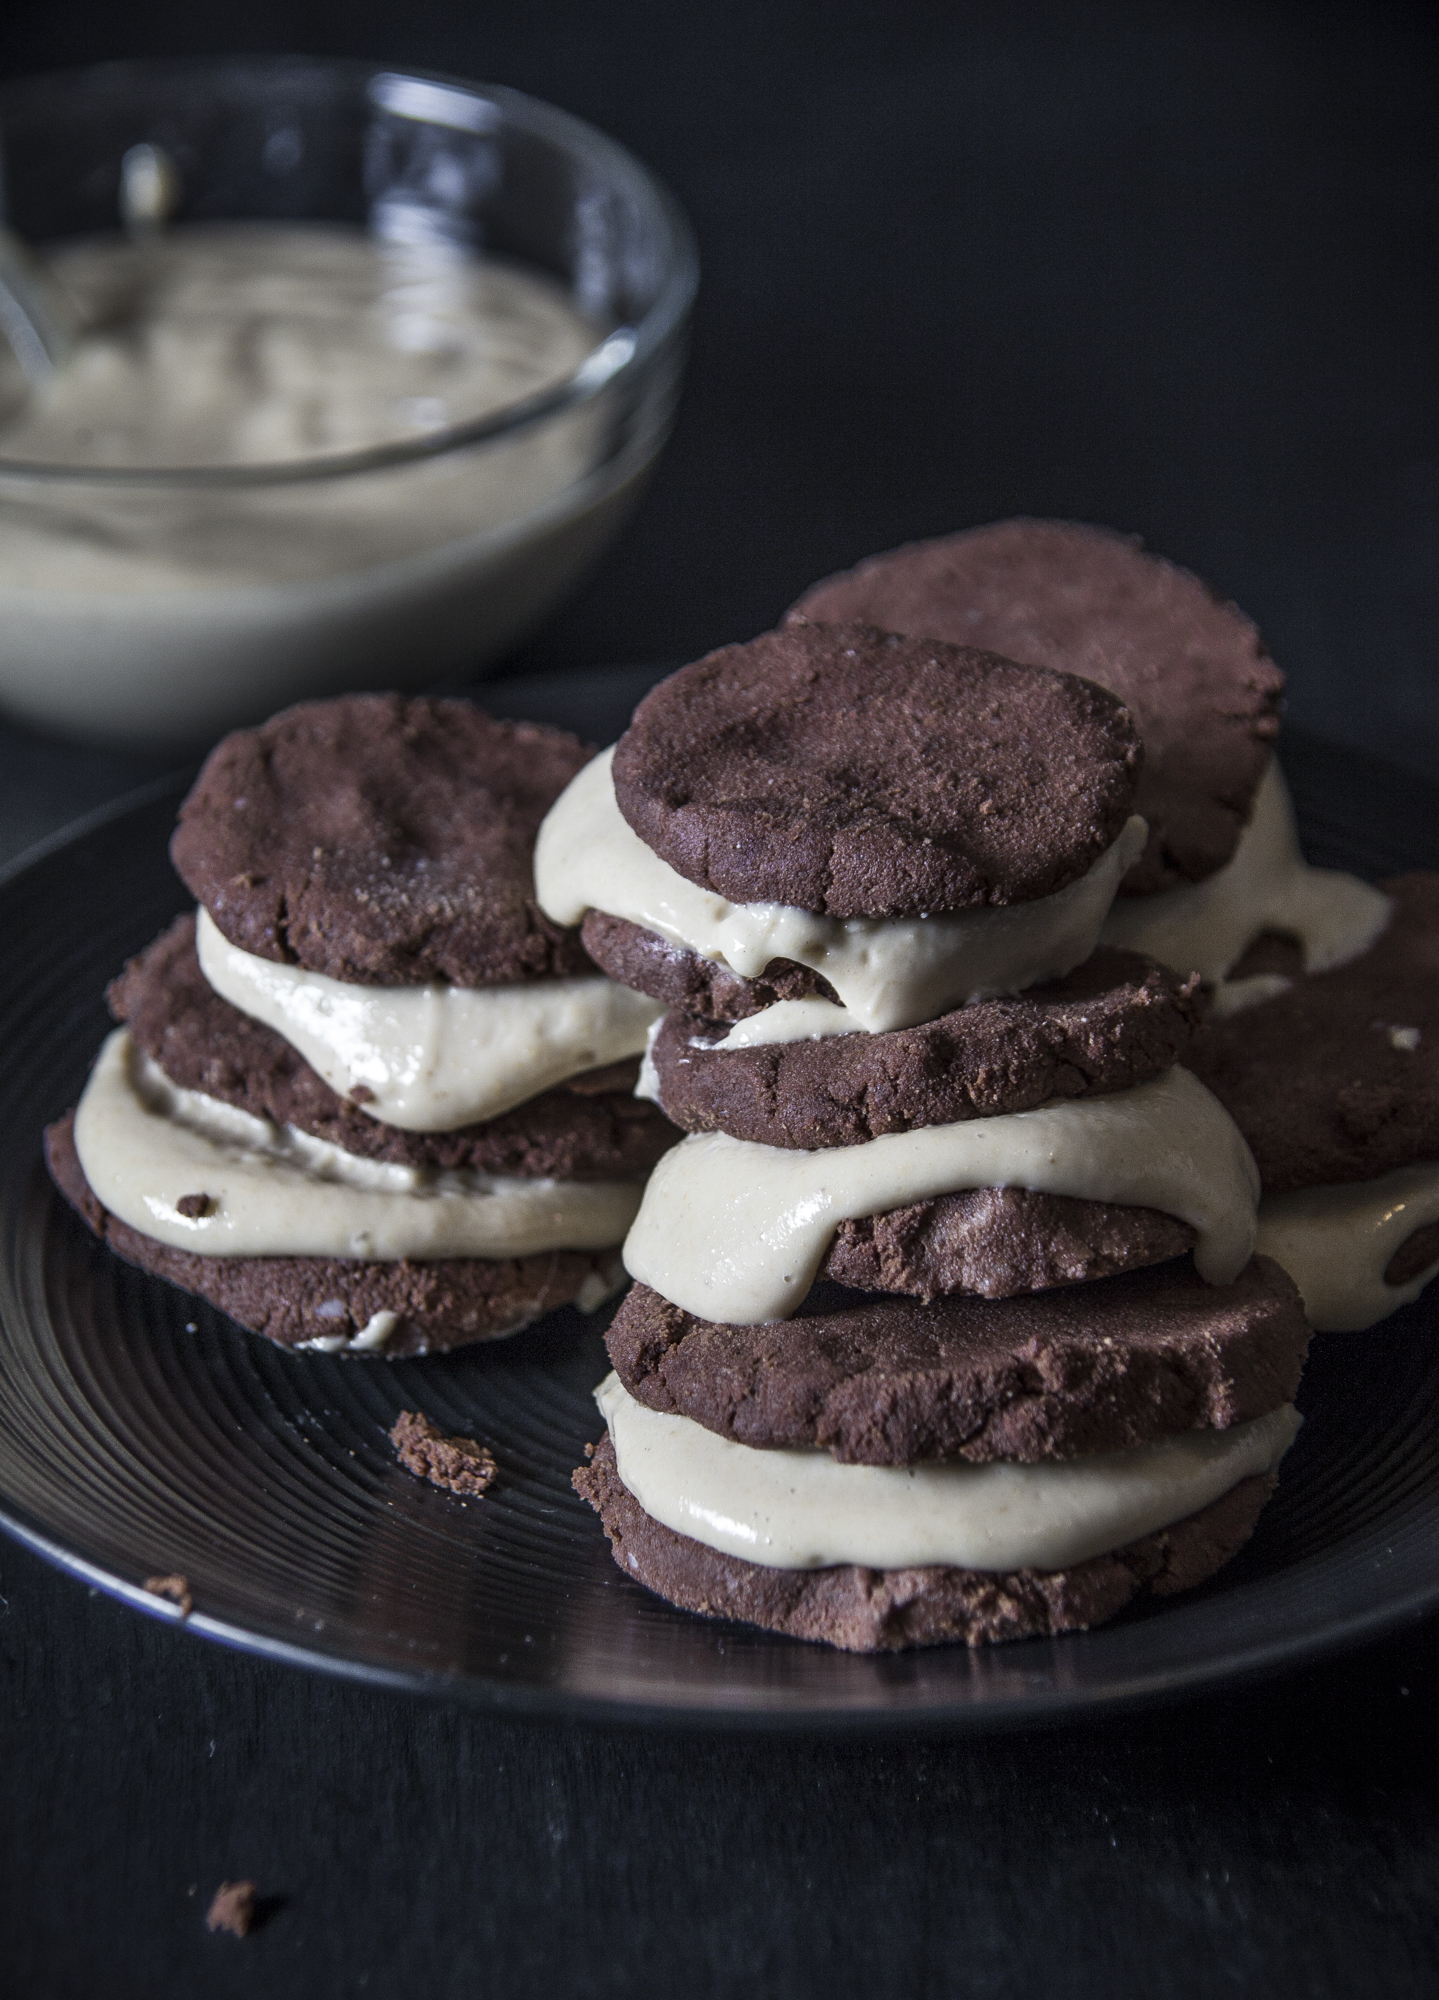
One day I saw a recipe for ‘Raw Oreos’ on Instagram by @Health_4wellness. It used oat flour, but I did not want to use oats/gluten, so I replaced it with coconut flour and had to alter the amount of the other ingredients. Their raw oreos were way more neatly cut and oreo like, but I was craving chocolate and was OK with messy, so I formed these suckers by hand and tossed in the filling while it was still ooey gooey:D This did not change their taste in any way, its dense and chocolatey and I love the filling. They are made out of very wholesome ingredients, so I didn’t feel too bad when I chowed one down. My friends loved them too and took some home with them, they came up with the name ‘Moon Pie Cookies’ for them. Next time I will try to make these neatly formed the right way and I can call them oreos again ;P

Ingredients
- COOKIE:
- 1 Cup - Coconut Flour
- 1/2 Cup - Cocoa Powder
- 1/2 Cup - Maple Syrup
- 1/2 Cup - Coconut Oil
- 1/2 Cup - Vegan Milk
- Dash of Sea Salt
- ---
- FILLING:
- 1/2 Cup - Cashews
- 1/4 Cup - Milk
- 1/4 Cup - Maple Syrup
- 1/2 Lemon - Juiced
- 1 tsp - Vanilla Extract
- Dash of Sea Salt
Instructions
- Mix all of your cookie ingredients until it starts to form into a doughy batter (start by mixing the dry ingredients, then mix in your wet ones). Add more vegan milk, maple syrup or oil if the coconut flour is soaking up all of your moisture, or more flour if your dough is too wet.
- Roll the dough out and flatten on to a flat surface covered in wax paper to keep from sticking (you can put wax paper on top of the batter so your dough does not get stuck on to your roller or your hands). Using a cookie cutter (or a mason jar top), cut out as many cookies as you can. Place on a cookie sheet covered in wax paper and stick in the freezer for 30 minutes or until hardened.
- Make your filling by pouring all of your ingredients into a high powered blender. Place on high and blend until thick and creamy. Taste to adjust ingredients.
- Once your cookies are cooled and hardened, take them out, spread your filling in between two cookies and form until all of your ingredients are used up! If you have extra filling, just use for dipping;)
- Enjoy!